Application Visibility Mode
Avatar Visibility Mode lets you control the visibility of the avatar in an application. Two visibility modes are available for this purpose:
- Visible
- Restricted visible
If the application is in "Visible" mode, the avatar is visible to all users of the application without any restrictions. In "Restricted Mode", the avatar is initially invisible to all users. However, it is possible to make the avatar visible to certain users. This mode is particularly suitable for test settings in which AppNavi is only made available to a certain group of users.
The visibility of AppNavi can be controlled by the Restricted mode, but the functions remain even in the Restricted mode. This means that announcements are still displayed and custom code is executed.
How to set the Mode
Visibility mode can be set while creating an application or while editing an Application by following these basic steps:
- Go to Application and select any application from the list.
- Click the 3 dots and select “Edit Application” from the Dialogue.
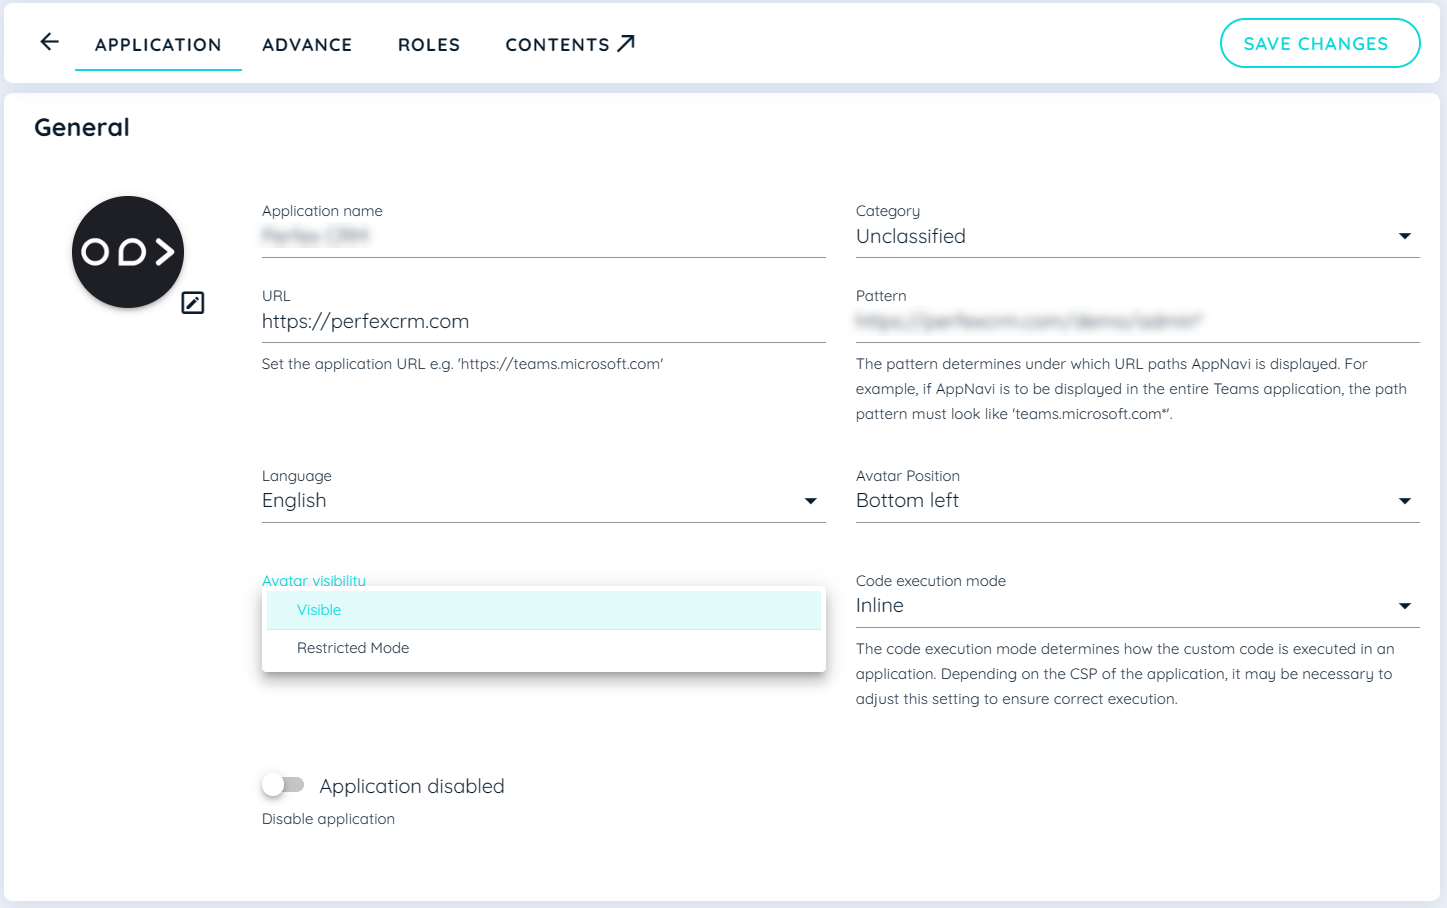
- Go to Avatar Visibility and click the drop down.
- A User can see 2 options, select any one according to his preference.
- Save the changes.
Make Avatar Visible in Restricted Mode
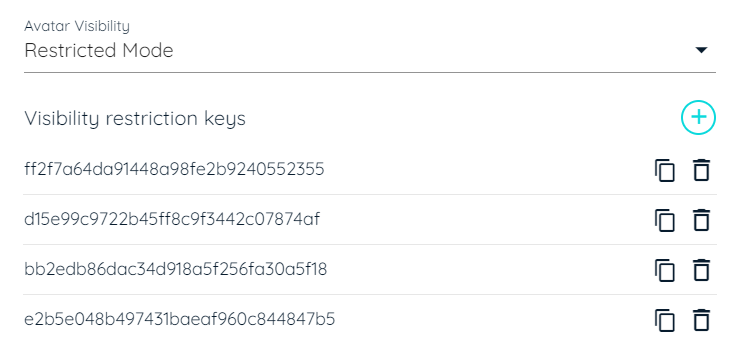
If a tenant owner keeps the Application in restricted mode, no user can see the avatar even the tenant owner. But tenant owner can generate GUID Keys which appear once a restricted mode is selected, and the user can use these Keys to see the avatar even in restricted mode.
Steps to make avatar visible in restricted mode
- Add a Key by clicking the + Icon
- Copy the Key by clicking Copy Icon
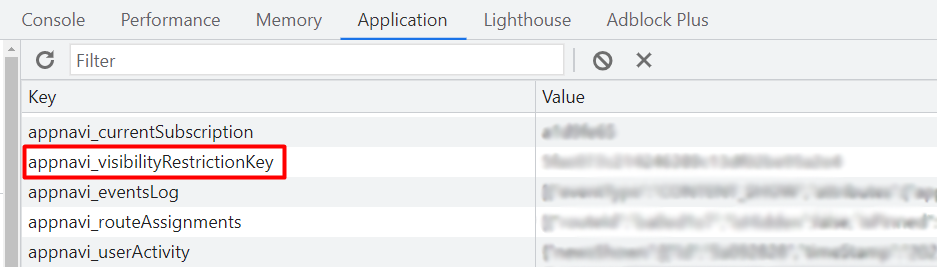
- Go to Application and go to local storage
- In the local storage, the entry should be stored under the Key Column: appnavi_visibilityRestrictionKey
- Paste the copied key in the value column.
- Start the AppNavi extension and reload the page.
Updated 29 days ago